Carlsbad Caverns Underground Photography: Capturing the Beauty of America’s Hidden Wonder
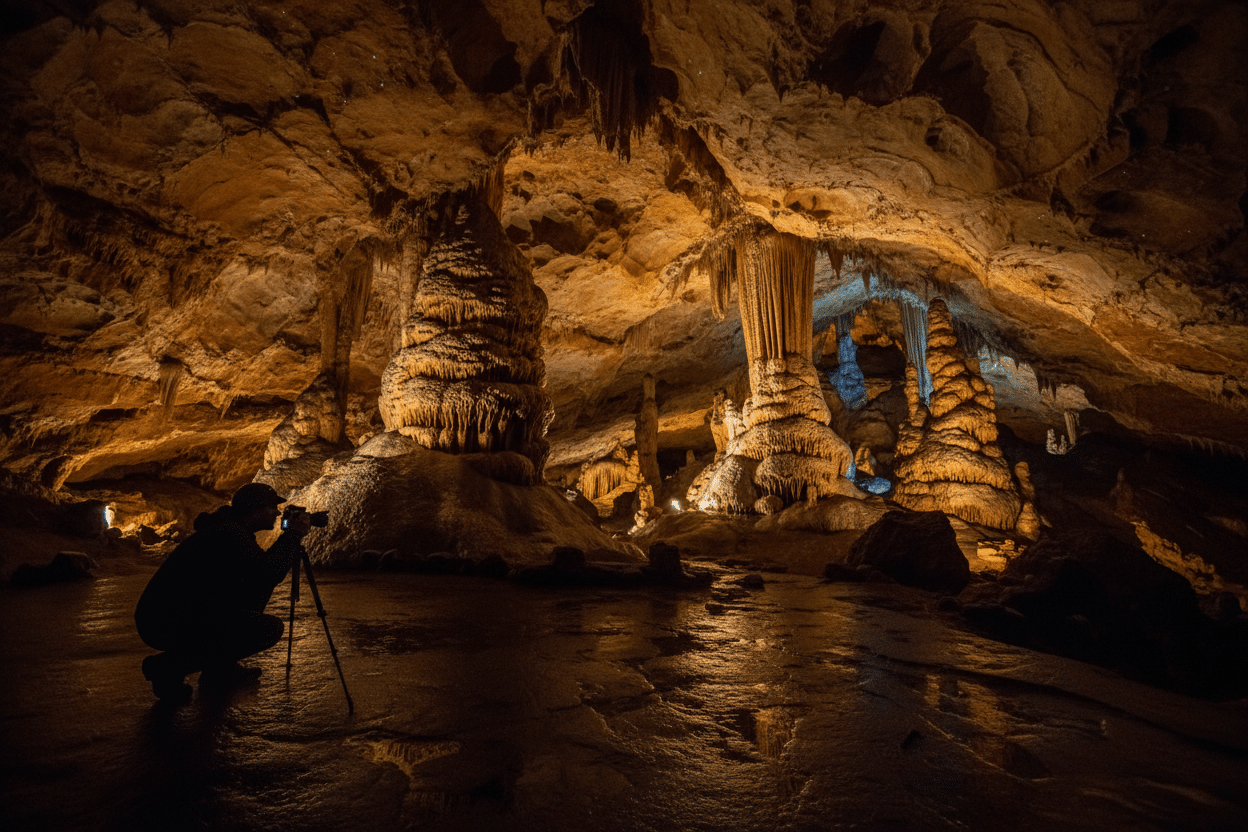
Deep beneath the Chihuahuan Desert in southeastern New Mexico lies one of America’s most spectacular natural treasures. Carlsbad Caverns National Park offers photographers an extraordinary opportunity to capture the otherworldly beauty of underground formations that have been sculpted over millions of years. Whether you’re a seasoned cave photographer or someone looking to explore this unique niche, the caverns present both incredible opportunities and distinctive challenges that will test your skills and reward your patience.
The moment you descend into the Big Room or navigate the winding paths of the Natural Entrance, you’ll understand why Carlsbad Caverns has captivated visitors since its discovery. The sheer scale of these underground chambers, combined with the intricate details of stalactites, stalagmites, and flowstone formations, creates a photographer’s paradise unlike anywhere else on Earth.
Understanding the Unique Environment of Carlsbad Caverns
Before you even think about camera settings, it’s crucial to understand what makes cave photography so different from surface photography. The caverns maintain a constant temperature of around 56 degrees Fahrenheit year-round, with humidity levels that can affect both you and your equipment. The complete absence of natural light means you’ll be working in conditions that challenge even the most advanced camera systems.
The formations you’ll encounter tell stories spanning geological ages. Massive columns stretch from floor to ceiling, while delicate soda straws hang like nature’s chandeliers. Each formation has its own character – some appear almost alive in their flowing curves, while others stand as silent sentinels that have remained unchanged for millennia.
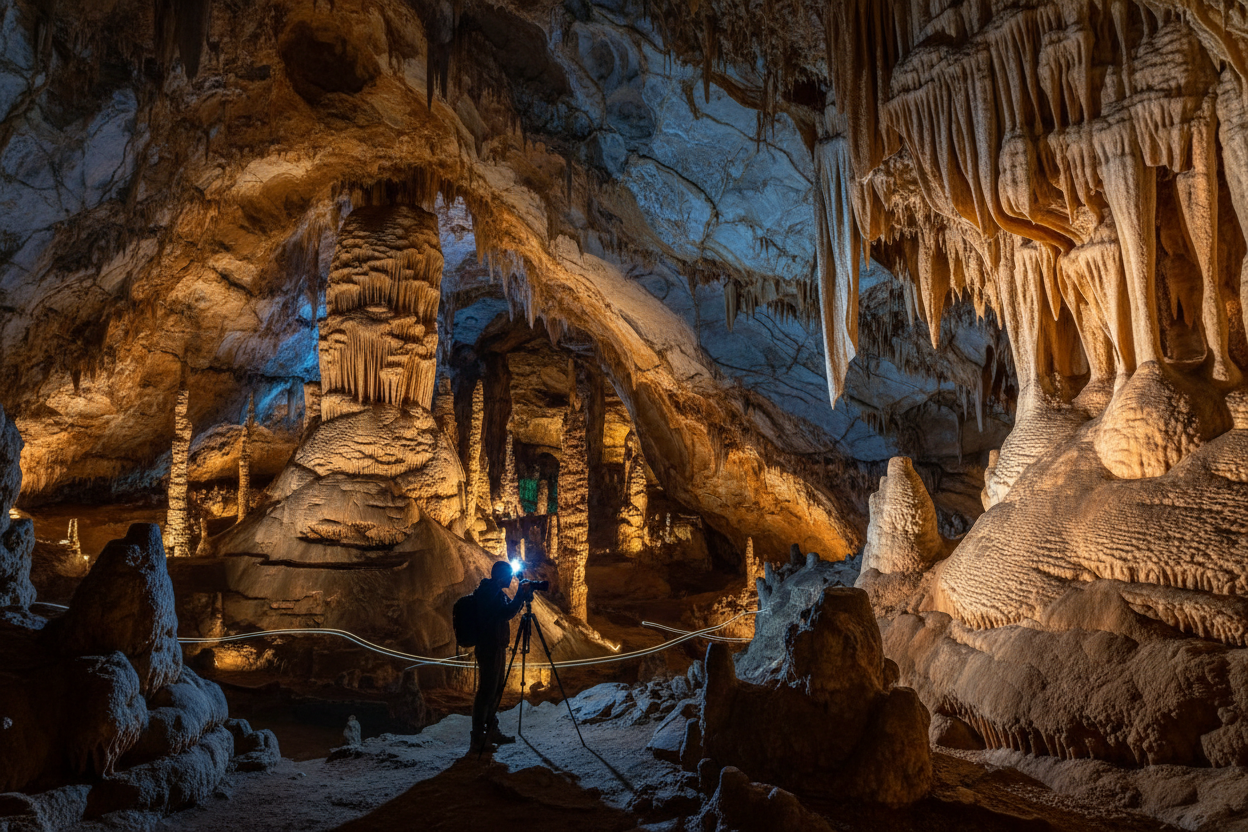
What makes Carlsbad Caverns particularly special for photographers is the incredible variety within a single location. From the vast cathedral-like spaces of the Big Room to intimate alcoves filled with intricate formations, you’ll find compositions that range from grand landscape-style shots to detailed macro work.
Essential Camera Equipment for Cave Photography
Success in cave photography starts with having the right equipment. Your camera gear needs to handle extreme low-light conditions while remaining portable enough for the sometimes challenging terrain of cave exploration.
A full-frame camera with excellent high-ISO performance is your best friend in the caverns. Modern cameras can produce stunning results at ISO 3200 or higher, which you’ll need when working with limited artificial lighting. A sturdy tripod is absolutely non-negotiable – you’ll be working with long exposures, and even the slightest camera shake will ruin your shots.
When it comes to lenses, versatility is key. A wide-angle lens (14-24mm) helps capture the grandeur of large chambers, while a standard zoom (24-70mm) gives you flexibility for various compositions. Don’t overlook the importance of a good macro lens for those intricate formation details that make cave photography so rewarding.
Lighting equipment deserves special attention. Powerful LED panels or strobes are essential, but consider bringing multiple light sources. Battery life becomes critical when you’re underground for hours, so pack plenty of spare batteries and keep them warm – cold temperatures can significantly reduce battery performance.
Mastering Cave Photography Techniques
Cave photography requires a different mindset than traditional landscape work. You’re not chasing golden hour light or waiting for perfect weather – instead, you’re creating your own light and working with formations that have remained unchanged for thousands of years.
Long exposure photography becomes your primary technique. Exposures of 30 seconds or more are common, allowing you to paint the scene with light using handheld sources. This technique, called light painting, lets you selectively illuminate different parts of your composition, creating depth and drama that wouldn’t be possible with static lighting.
Focus stacking is another valuable technique for cave photography. The extreme depth of many cave scenes often exceeds what’s possible with a single exposure, even at small apertures. Taking multiple shots at different focus points and combining them in post-processing ensures sharp detail from foreground formations to distant chamber walls.
Don’t underestimate the power of silhouettes and shadows in cave photography. Sometimes the most compelling images come from what you don’t illuminate. Strategic use of darkness can create mystery and draw the viewer’s eye to specific elements of your composition.
Navigating Photography Restrictions and Guidelines
Carlsbad Caverns National Park has specific rules regarding photography that are designed to protect both the delicate cave environment and visitor safety. Understanding these guidelines before your visit ensures you can focus on capturing great images without running into problems.
Tripods are generally allowed on the main tourist routes, but there are restrictions on their use in certain areas. Flash photography is permitted, but be mindful of other visitors – constant flashing can detract from their experience of the natural wonder.
The park service emphasizes the “Leave No Trace” principle, which is especially important in cave environments. Cave formations are incredibly fragile and can be damaged by oils from human skin. Never touch formations for any reason, and be extremely careful with your equipment placement.
Commercial photography requires special permits, and there are restrictions on the use of certain types of lighting equipment. If you’re planning to sell your images or use them for commercial purposes, contact the park service well in advance to understand the permitting process.
Best Locations and Compositions Within the Caverns
The Big Room offers the most accessible photography opportunities for most visitors. This massive chamber, one of the largest underground rooms in North America, provides countless composition possibilities. The Rock of Ages formation serves as a dramatic focal point, while the various pools and flowstone formations offer opportunities for more intimate shots.
The Natural Entrance route presents different photographic opportunities, with its winding descent and changing perspectives. The Devil’s Spring area and the Witch’s Finger formation are particularly photogenic, offering interesting foreground elements for your compositions.
For those with special access or on guided photography tours, areas like the Lower Cave and Spider Cave provide unique opportunities to photograph formations not seen by typical visitors. These locations often require more advanced caving skills and specialized permits.
Consider the human element in your compositions. Including people in your cave photographs can provide scale that helps viewers understand the massive size of the formations. A tiny human figure next to a towering stalagmite tells a story that pure formation shots cannot convey.
Post-Processing Tips for Cave Photography
The work doesn’t end when you leave the caverns. Cave photography often requires extensive post-processing to bring out the full beauty of what you captured underground. The extreme contrast between your artificially lit subjects and the surrounding darkness presents unique editing challenges.
Noise reduction becomes particularly important when working with the high ISO settings common in cave photography. Modern noise reduction software can work miracles, but it’s still better to get the cleanest possible image in-camera. Don’t be afraid to underexpose slightly – it’s easier to lift shadows than to recover blown highlights in cave photography.
Color temperature adjustment is often necessary when working with mixed lighting sources. LED lights, flash units, and any ambient lighting from park installations may all have different color temperatures. Learning to balance these in post-processing will give your images a more natural, cohesive look.
HDR processing can be valuable for cave photography, but use it judiciously. The goal is to reveal detail in both shadows and highlights while maintaining a natural appearance. Over-processed HDR images can look artificial and detract from the natural beauty of the cave formations.
Safety Considerations for Underground Photography
Cave photography presents unique safety challenges that surface photographers rarely encounter. The combination of expensive equipment, challenging lighting conditions, and unfamiliar terrain requires extra attention to safety protocols.
Always inform someone of your photography plans and expected return time. While the main tourist routes in Carlsbad Caverns are well-maintained and monitored, accidents can still happen. Carrying a basic first aid kit and emergency whistle is smart preparation.
Watch your step constantly. Cave floors can be uneven, wet, or slippery, and it’s easy to become so focused on your viewfinder that you lose awareness of your surroundings. Many cave photography accidents happen during equipment setup or breakdown when photographers are distracted by their gear.
Hypothermia is a real risk during long photography sessions in the consistently cool cave environment. Dress in layers and bring extra clothing. The combination of cool temperatures, humidity, and reduced activity while setting up shots can lead to rapid body heat loss.
Planning Your Cave Photography Adventure
Successful cave photography at Carlsbad Caverns requires more planning than typical landscape photography. The park’s operating hours, seasonal variations in tour availability, and weather conditions all affect your photography opportunities.
Consider visiting during less crowded times for better photography conditions. Early morning entries or late afternoon visits often provide more space to work without disturbing other visitors. Winter months typically see fewer crowds, though you’ll need to check tour schedules as some areas may have reduced access.
Physical preparation shouldn’t be overlooked. Cave photography often involves carrying heavy equipment over uneven terrain for extended periods. The main routes in Carlsbad Caverns are accessible to most fitness levels, but specialized photography areas may require more strenuous hiking.
Weather above ground can affect cave conditions, particularly humidity levels and the comfort of your surface preparations. Check forecasts and plan accordingly, especially if you’re traveling from out of state specifically for cave photography.
Carlsbad Caverns offers photographers a unique opportunity to capture images of one of America’s most spectacular hidden wonders. The combination of geological marvels, challenging technical requirements, and the satisfaction of creating something truly unique makes cave photography an incredibly rewarding pursuit. Whether you’re documenting the grand scale of the Big Room or focusing on the intricate details of individual formations, every shot tells part of the story of this underground masterpiece.
The key to success lies in preparation, patience, and respect for the delicate cave environment. With the right equipment, techniques, and mindset, you’ll be able to capture images that not only showcase the incredible beauty of Carlsbad Caverns but also inspire others to appreciate and protect these natural treasures for future generations.
Frequently Asked Questions
Can I use flash photography in Carlsbad Caverns?
Yes, flash photography is generally permitted in Carlsbad Caverns, but be considerate of other visitors and follow all park guidelines. Continuous lighting sources like LED panels are often more effective for cave photography than flash units.
Do I need special permits for photography in the caverns?
Personal photography for non-commercial use typically doesn’t require special permits. However, commercial photography, large lighting setups, or access to restricted areas may require advance permits from the National Park Service.
What’s the best time of year to photograph Carlsbad Caverns?
The cave environment remains constant year-round, so the best time depends more on crowd levels and surface weather. Winter months often have fewer visitors, providing better photography conditions, though some tours may have limited schedules.
How long should I plan for a cave photography session?
Plan for at least 3-4 hours for a thorough photography session in the main areas. This allows time for equipment setup, multiple compositions, and careful navigation of the cave environment.
What camera settings work best for cave photography?
Start with manual mode, ISO 1600-6400, apertures around f/8-f/11 for depth of field, and experiment with long exposures from 15-60 seconds depending on your lighting setup. Every situation will require adjustments based on your specific composition and lighting.
Can I bring a tripod into Carlsbad Caverns?
Yes, tripods are generally allowed on the main tourist routes, but there may be restrictions in certain areas or during peak visitor times. Always check current park regulations and be prepared to quickly move your equipment if requested by park staff.